
"Well, for starters its simple. No sewing involved if you don't want to. Costs anywhere from $40 for a "tracker" kit to around $60 for a poncho kit. You can buy already tied netting and simply cut to your shape. I complete pre-made suit is around $130, and that has the net secured to a jacket and pants.
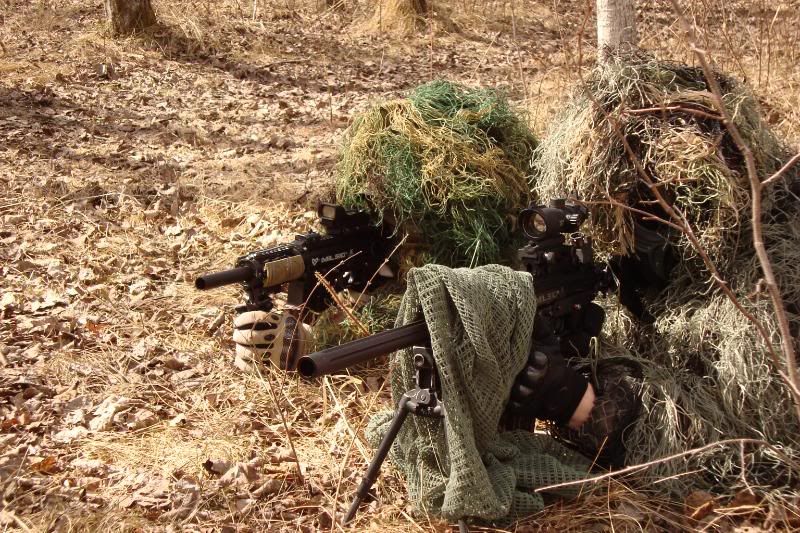
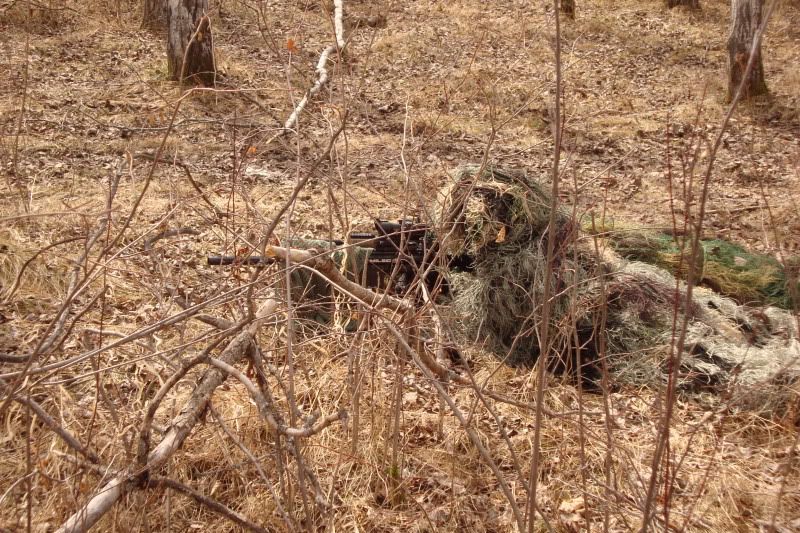
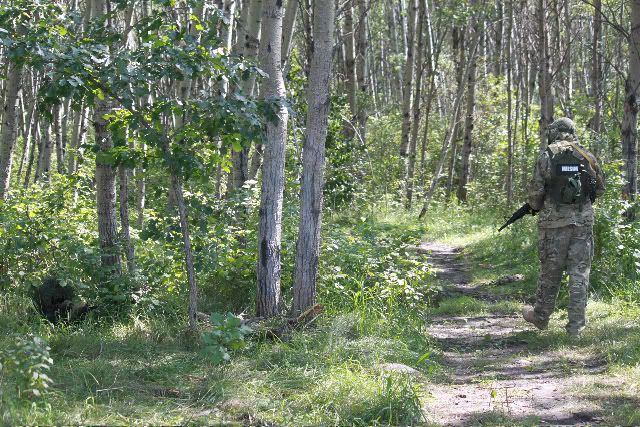
My suits in action. Closest is the woodland and farthest is the timber pattern. The woodland suit is a jacket, pants, head cover and rifle wrap all for $70 shipped to my door. The timber suit is $135 plus shipping, but its a much nicer suit.
The Timber pattern works better in these spring photos. But the woodland works better in the summer greens.

Before I go into details, one thing needs to be understood... just because you have a ghillie, doesn't mean you will NOT be seen. Many players choose the wrong color or are afraid to make their own custom ghillie suit to match their field conditions. Its not hard to make one. But if you insist on buying one get one that has netting, not the suits that have the string attached directly to the material! You cannot change the suit or remove the string.
Also, please only buy the synthetic string. Jute and burlap are highly flammable. If you are going to get a suit made from jute or burlap, spray with fire-retardant before wearing.
Types of Ghillies:
Partial- Maybe just a head piece or head and shoulders. Sometimes this is referred to as a tracker ghillie. It allows the user to be fully mobile. No ghillie material below the belt, so to speak.
Full- Can be a poncho that slips over your BDU's or is an actual suit that zips up, with ghillie netting attached.
Others- Some variations include what is known as a viper or cobra hood. Its a partial jacket/ hood that has straps sew on just like a MOLLE vest. Real vegetation is attached to the straps, so that no matter where you go you can match the terrain.
I am creating a tracker pull over. I have several full suits and need something more mobile.
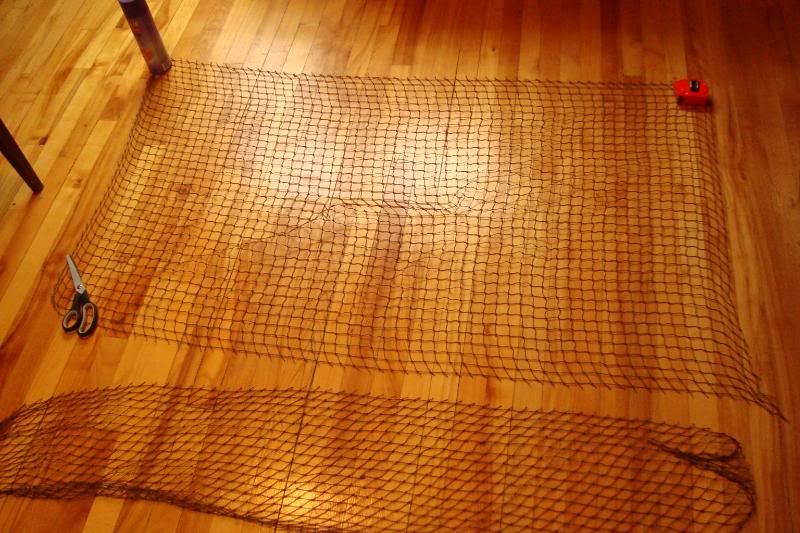
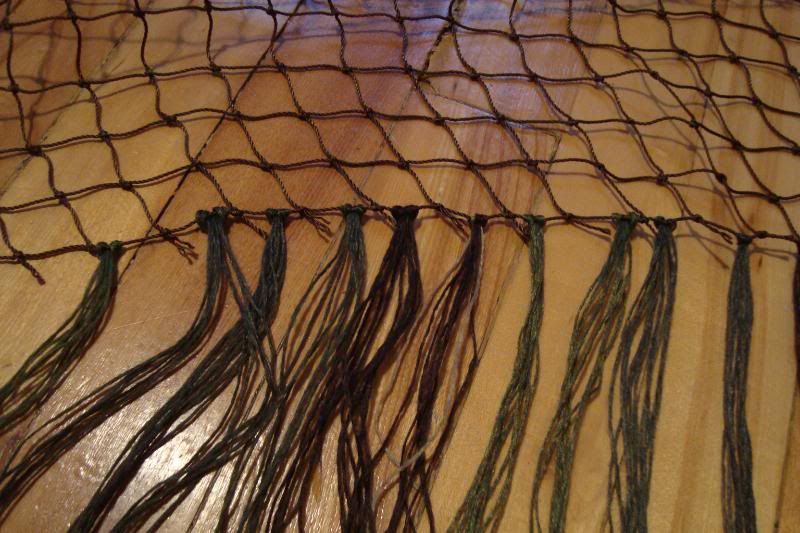
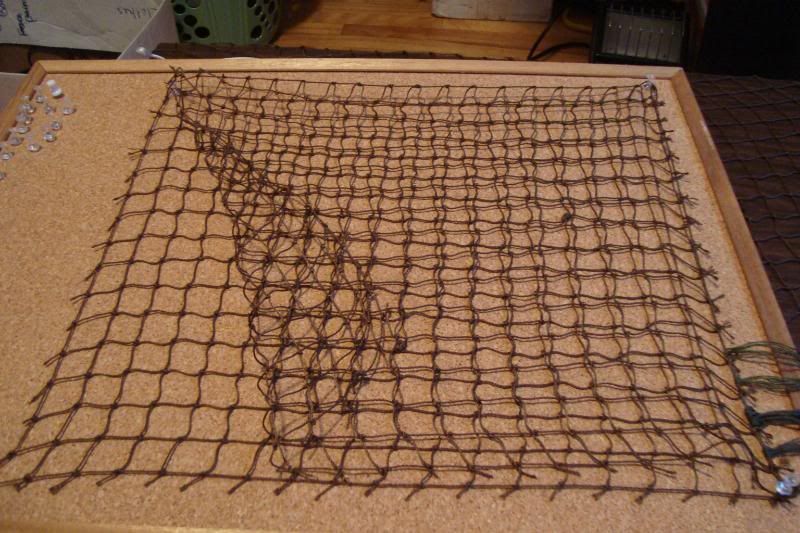
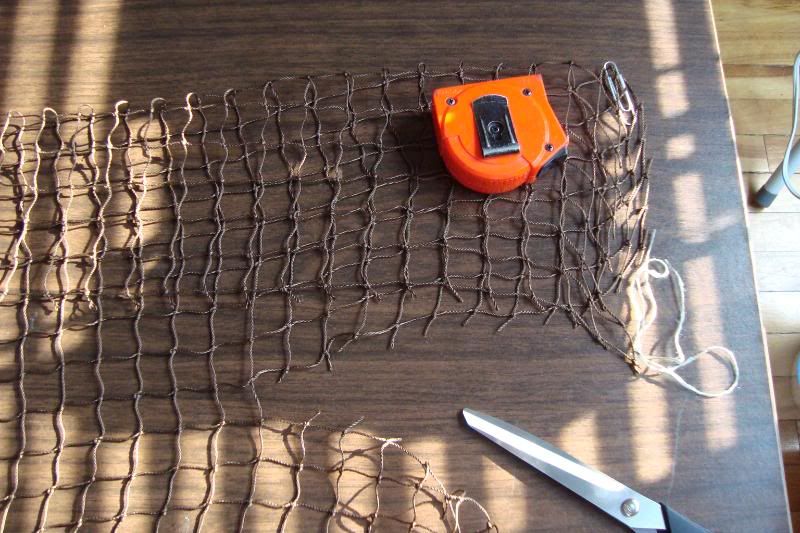
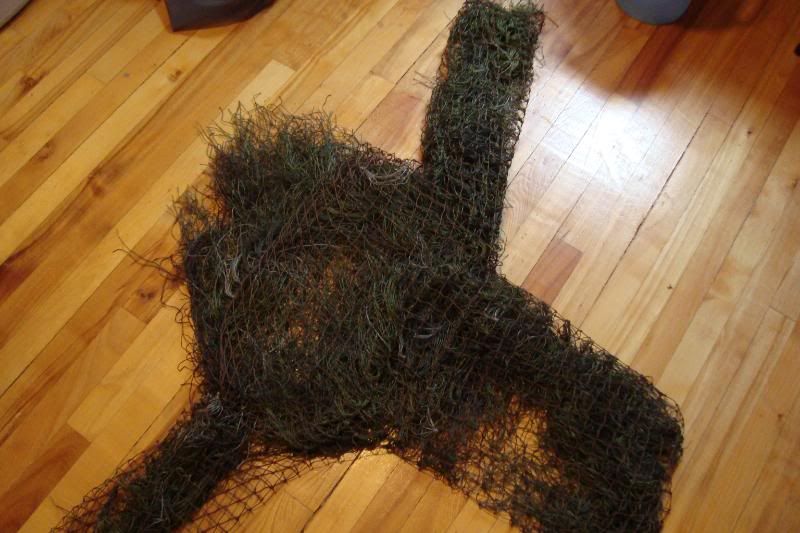
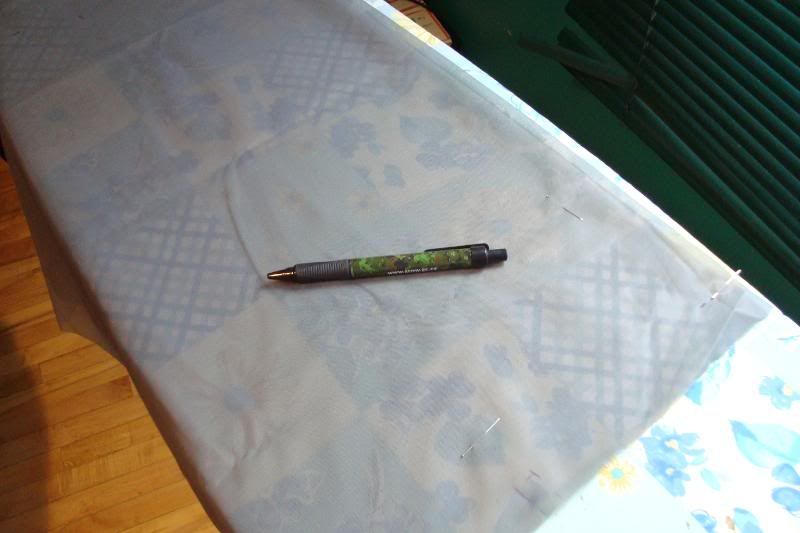
In the kit they give you a square piece of netting. Follow the instructions and cut off the material you will use for the hood (the long ways on the netting). The hood is around 12 by 30 squares. But you cut the entire length off the end of the netting. So you end up with a piece that is 12 by 60 ish ... your size will vary.

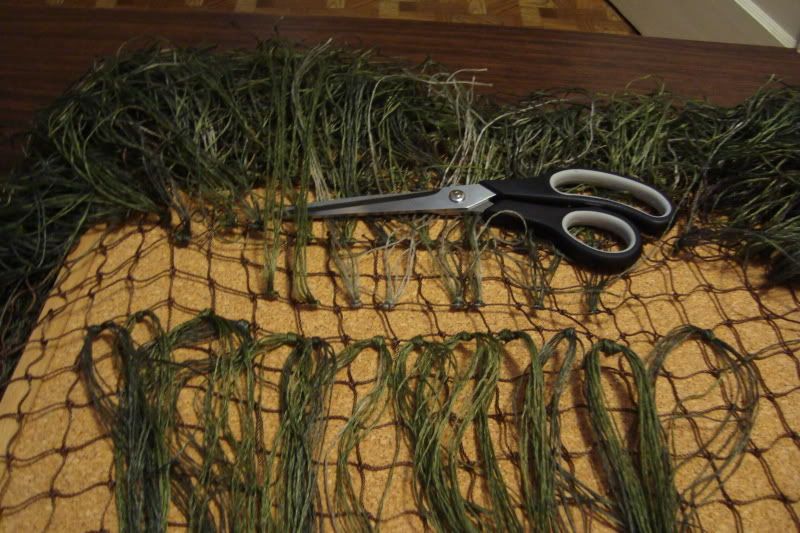
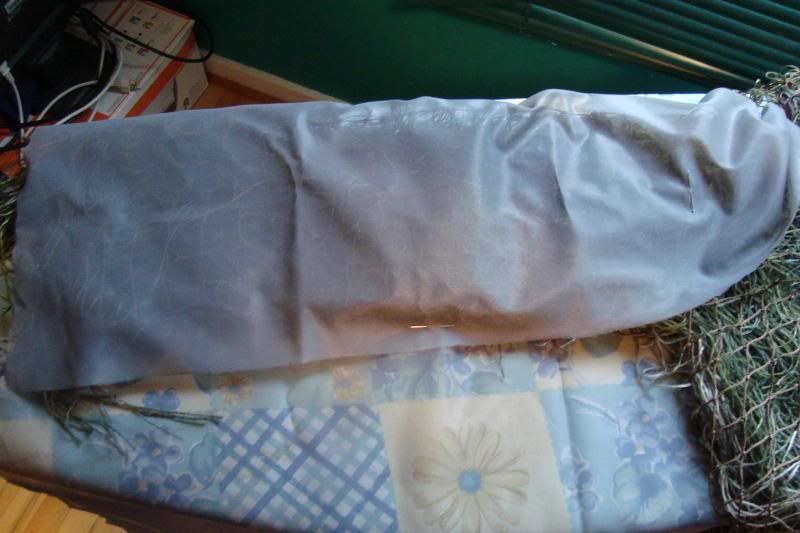
Always start at the bottom and work up. Tie a few rows then skip one. Repeat.
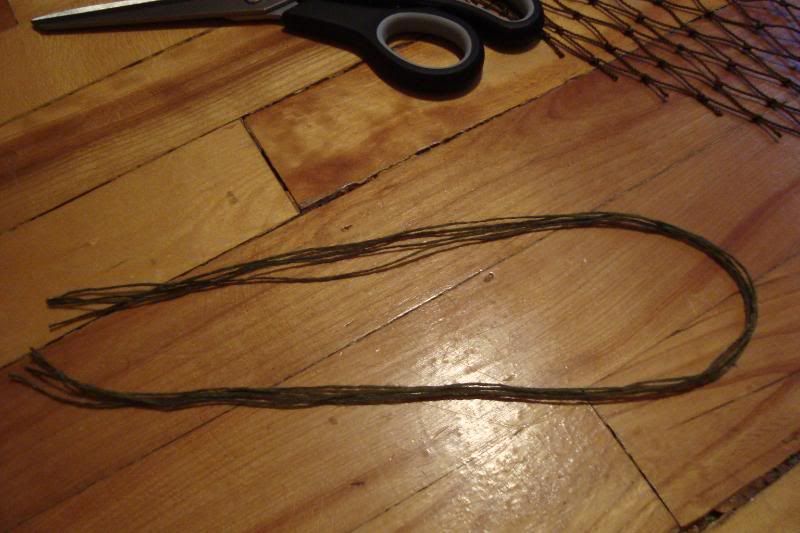
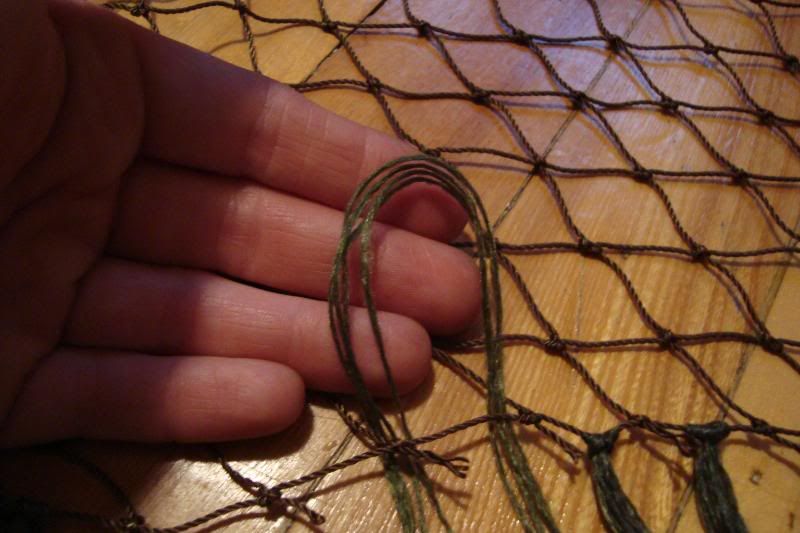
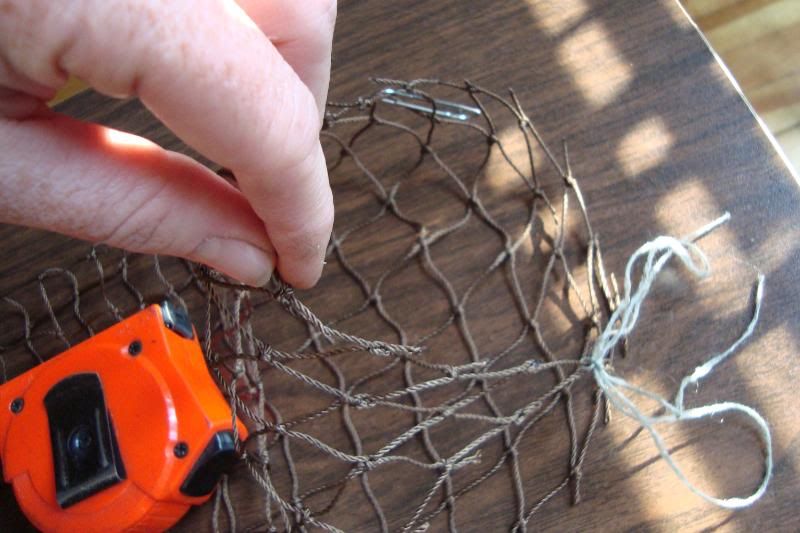
To tie, feed the looped end through the net.
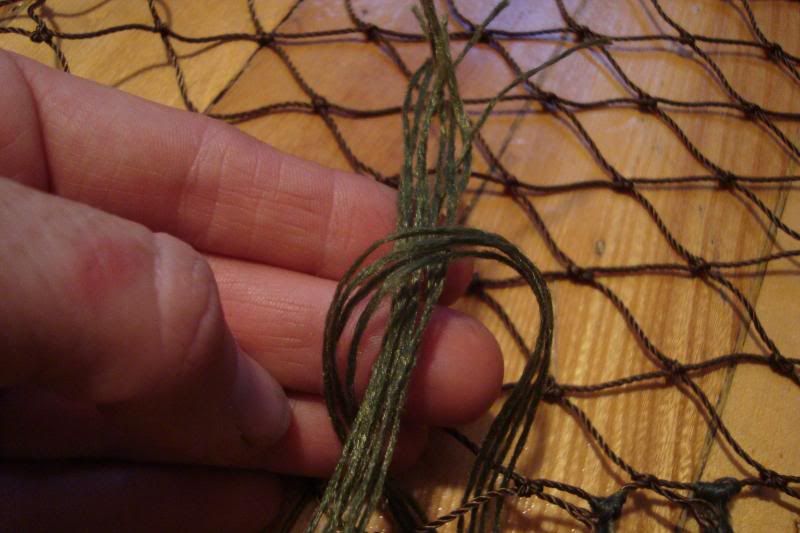
Next put loose ends through the loop and pull tight.


Tie the bottom of the sleeve together with pieces of half string. Unless you want more bulk, I recommend using only half the string.


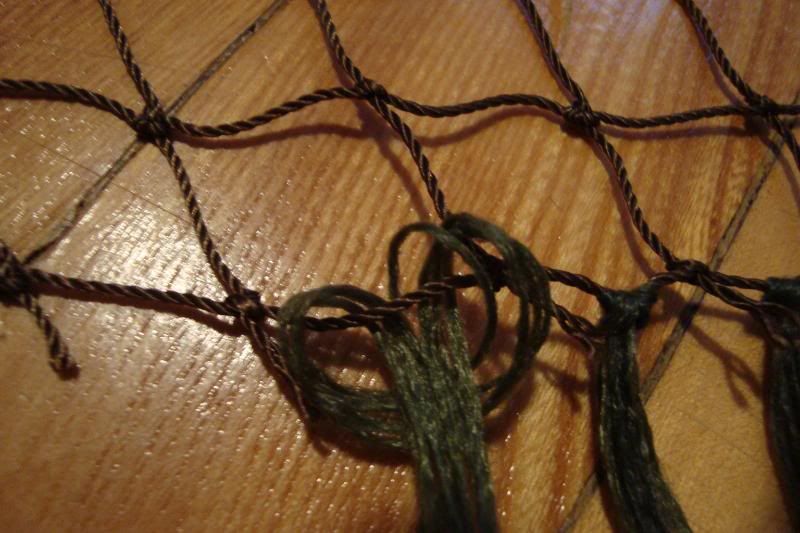
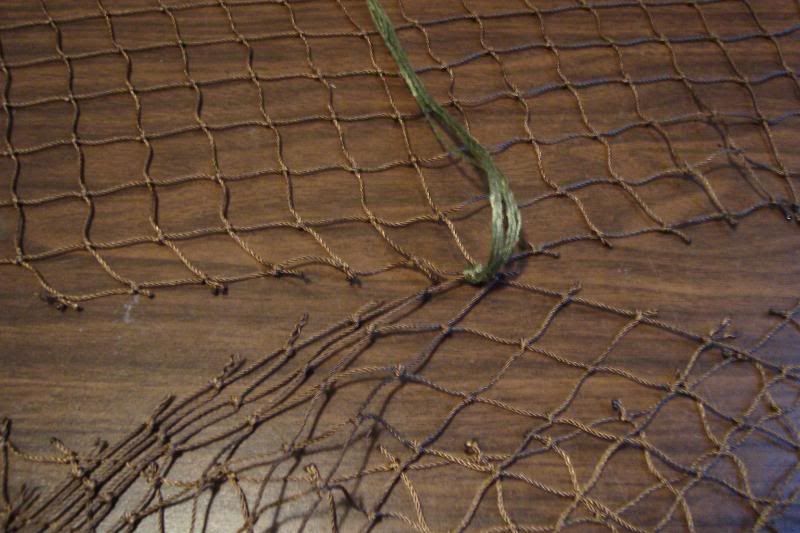
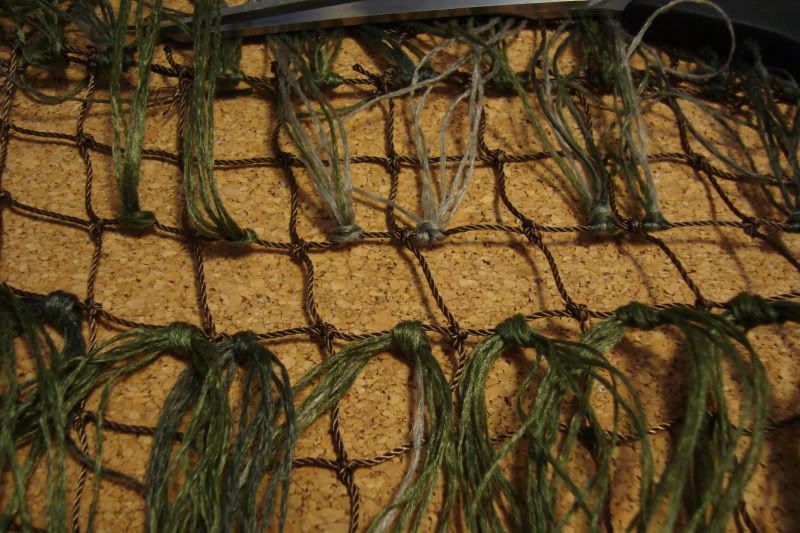
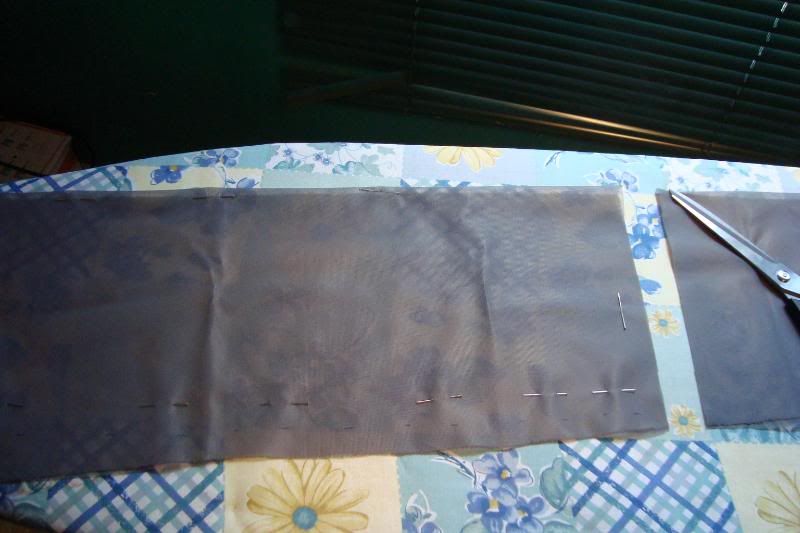
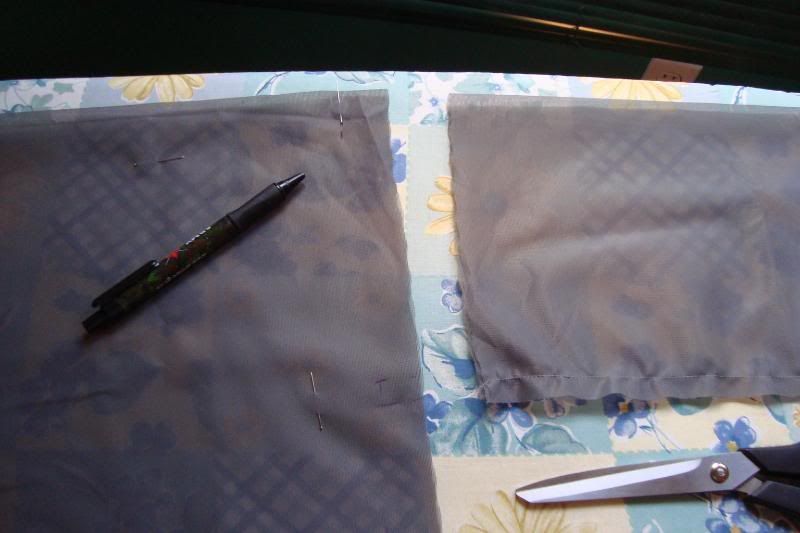
On the back I am starting to apply a double tying system. The "loop through" method I first showed is used on a row then I skip a row. On the rows I have skipped I use the simple square knot to make the suit stand out. Especially on the back so that while I am prone on the field, the back of the ghillie "stands up" to simulate grass and plants. The "loop through" method is used on suits for very grassy areas, because the string lays flatter. This ghillie is for a mixed forest environment, so I want a little of both. Standard store bought suits have the square knot because its very easy to tie and adds bulk quicker. The type of knot you use depends on what you want to look like. Since you can't look exactly like a tree or bush, you can try and come close. Experiment with different knots.
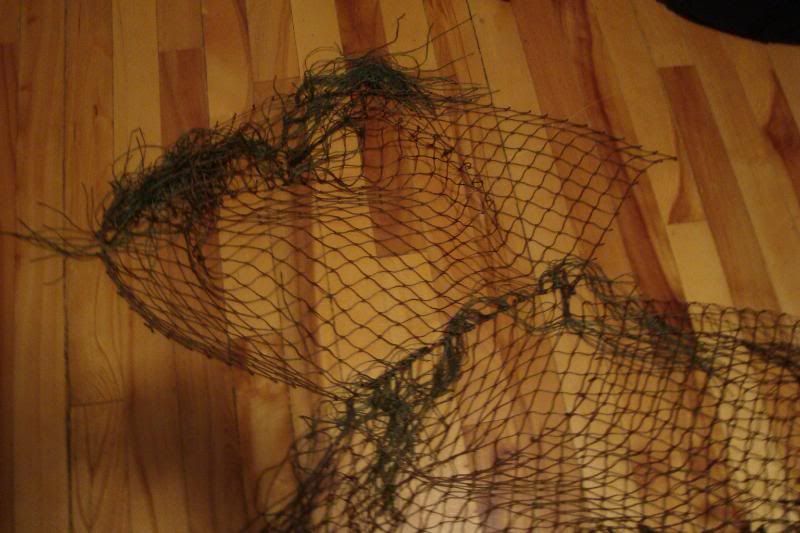
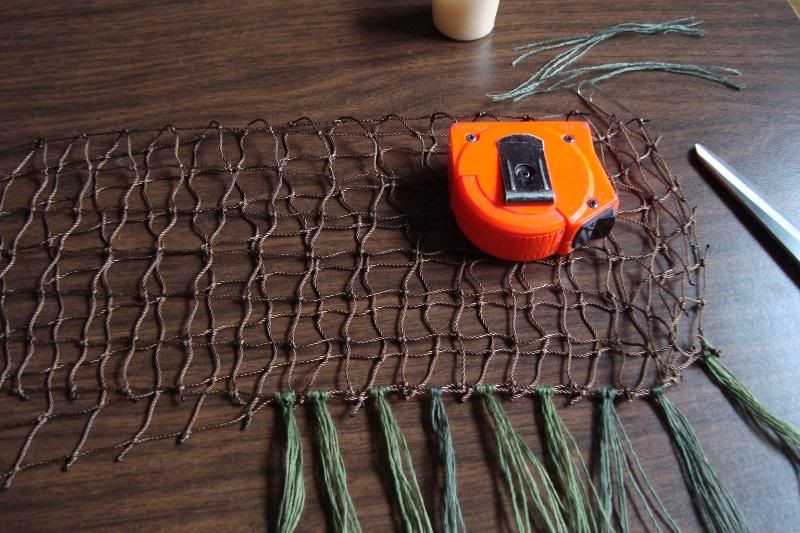
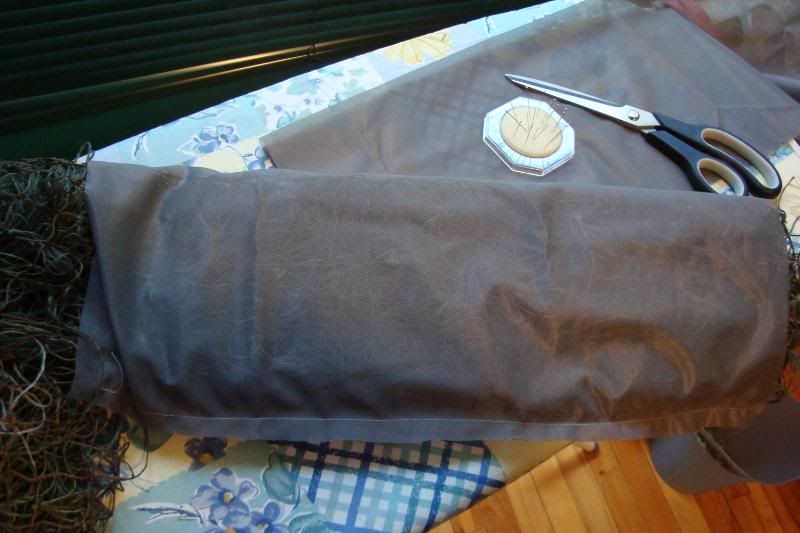
This is the back of the pull over, just below the hood (the hood is where the scissors are).

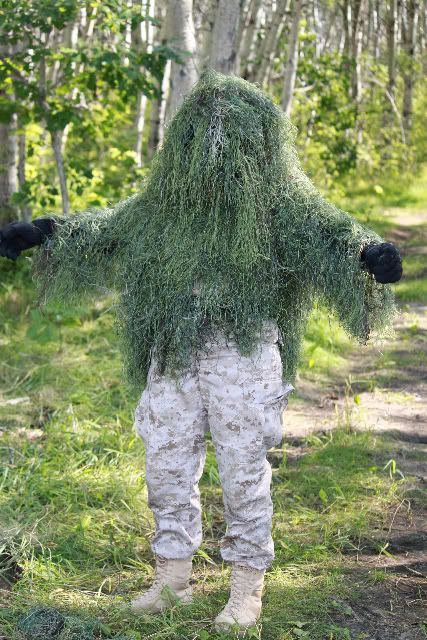
The jacket is for fast moving patrols and light duty positions. When you crawl or crouch you are well blended with the trees and grass. Its nice and light to wear, since you don't have ghillie pants to catch on all the branches.
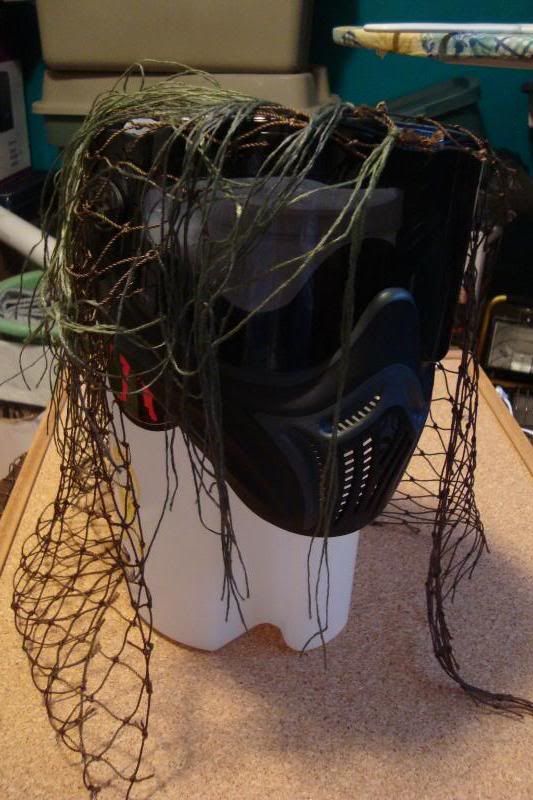
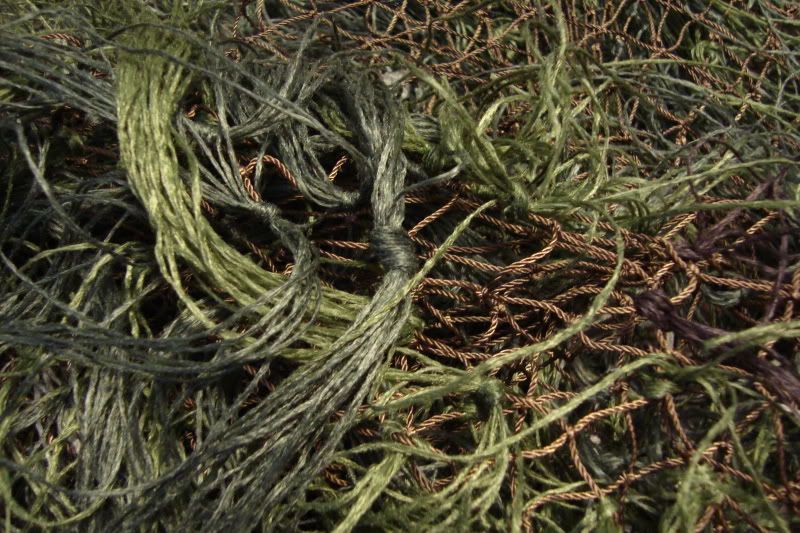
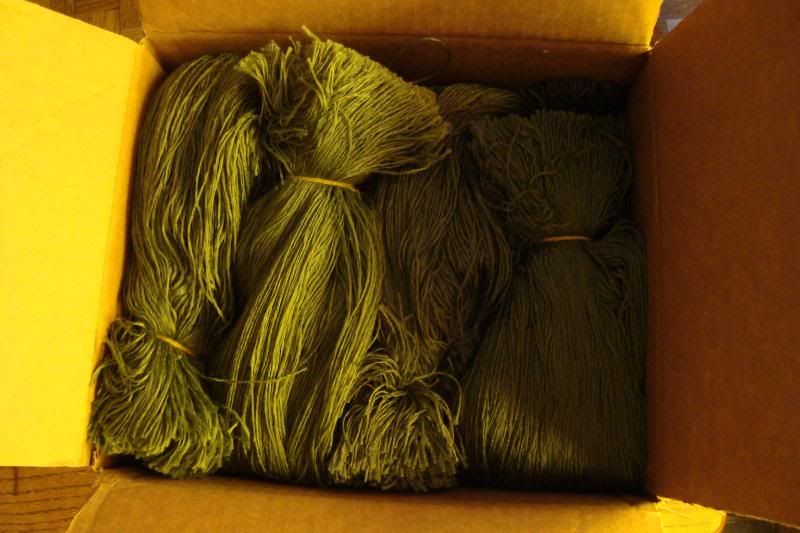
Keep in mind its made with 100% synthetic string. I used olive green and forest green, with a small amount of grey and brown. I will probably spend more time tying to add some bulk to the arms and head cover. Prerhaps lightening the darkness of the solid green.
YES, you can see through the hood. I removed some of the string just enough I can see with hood pulled right over my mask. You can wear the hood like you would normally do, but when you want to be completely concealed, you can pull it forward.
I will get some pics later on with Cadpat gear so you can see just how easy it is to camouflage yourself, without all the bulk of a full suit.


No comments:
Post a Comment